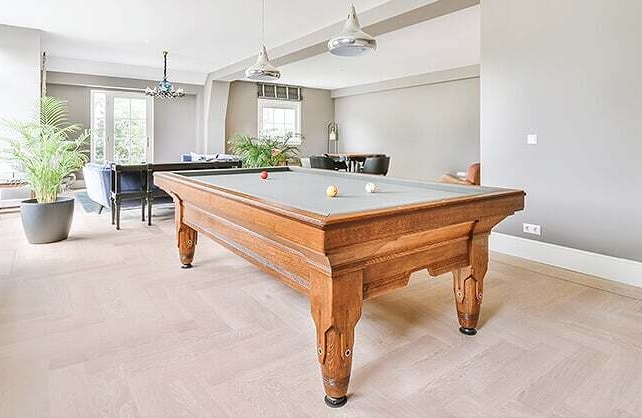
How to set up a pool table: A comprehensive guide for beginners
Setting up a pool table seems like a daunting task, but it doesn't have to be. With the right tools and a little bit of patience, you can have your pool table ready for action in no time.
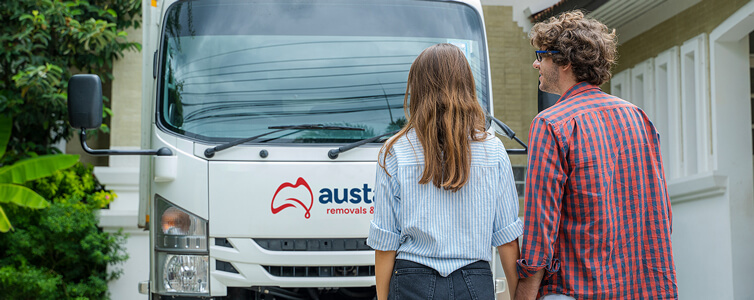
In this comprehensive guide, we'll take you through all the steps for how to set up a pool table correctly, from assembling the frame to fitting the felt. Whether you're moving to a new house and have engaged a pool table removalist or just bought your first pool table, this guide has got you covered.
Step 1: Assemble the frame
The first step to setting up your pool table is assembling the frame. Start by attaching the legs to the frame and marking the position that you want the table in, while the frame is upside down.
Remember to allow at least (1.5 - 2.0 metres) or more around the table so that other furniture or the walls don’t interfere with taking shots while playing. Make sure the legs are secure before you move on to the next step. Attach the side rails as per the instructions for the assembly. Turn the frame over and place it where you have marked its preferred position.
Step 2: Placing the slate
Once you've attached the legs, place the slate on the upturned frame and use screws to secure it firmly. Make sure the slate is level and smooth before you move on to the next step.
It may be recommended to use beeswax or a similar resource across the joins of the slate pieces unless, of course, the slate is a single piece. The wax can be melted into the joins using a blowtorch and allowed to dry overnight. Use a paint scraper to level out the joins evenly when the wax is dry.
Step 3: Install the felt
Once the frame is assembled, it's time to install the felt. Ensure the felt is the right size with no blemishes or tears before installing it. Allow 30 cm extra on the sides and ends for securing underneath the slate base.
Start by placing the felt over the slate and smoothing it out. Use a stapler to secure the felt to the underside of the table base if it is timber otherwise, it will be necessary to glue it around the edges. Be careful not to stretch the felt too much, as this can cause it to tear.
Once the felt is attached, use a trimming tool to trim the excess around the edges.
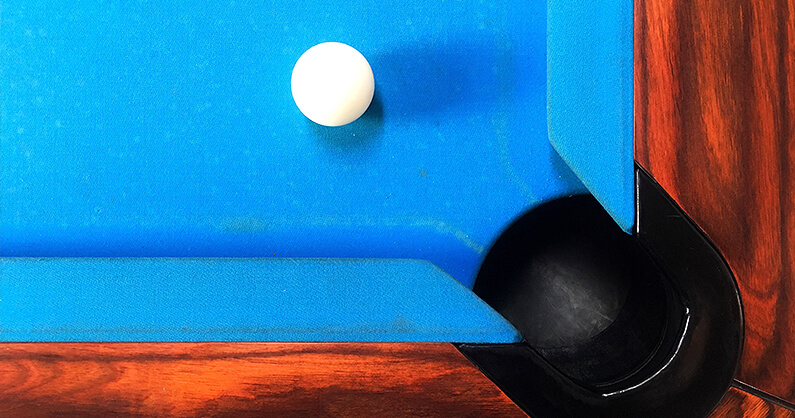
Step 4: Install the rails and pockets
With the frame and felt in place, it's time to install the rails and pockets. Start by attaching the 6 rails to the frame, making sure they're level. The rails may already be felt covered if buying a pre-assembly product, however, if not they will need to be glued before attachment.
Then, attach the pockets to the rails, making sure they're securely in place. Once the rails and pockets are attached, test them by rolling a ball along the rails along the table. If the ball bounces or rolls unevenly, adjust the rails and pockets until they're straight.
Step 5: Level the table
Levelling and positioning the table is one of the most crucial steps in setting up your pool table. The position of the table is as important because direct sunlight, draughts or other factors can affect the condition and long-term viability of the table.
If the table is uneven, it can affect the way the balls roll and make it difficult to play. Additionally, allowance for enough room around the table (at least 1.5-2 metres) with clear space not impeded by furniture, doors or walls makes the game so much more enjoyable.
Use a spirit level to check that the table is level in all directions. If it's not, adjust the legs until it is. Once the table is level and positioned, adjust the height of the pockets to match the ball diameter so that they fall into the pockets and not onto the floor.
Step 6: Test the table
With your pool table set up, it's time to test it out. Test the table by playing a game or rolling some balls around. If you notice any issues, such as balls rolling unevenly or pockets being too loose, adjust them until everything is perfect.
Once you're happy with how everything looks and feels, your pool table is ready to use. The next step is to set the rules for the table to help preserve the integrity of the felt.
Rules might include
- No drinks to be placed on the table sides at all
- No jumping of balls to be done which can end up with torn felt
- Children to be carefully supervised by adults when using the table
- Table to be covered when not in use and camphor or moth balls to be placed under cover to eliminate insects degrading the felt
- Cues to be placed in the rack when not in use
- Chalk to be used on cue tips and tips cared for
- Pool is not a power game so take it easy on our table
- Keep in mind the best of pool table removalists if you need your table moved
Conclusion:
Setting up a pool table can be a daunting task, but with our informative guide, it doesn't have to be. If you have need of an experienced pool table removalist to move your pool table into your new residence or in the need of moving your pool table elsewhere, by following these six simple steps, you can have your pool table ready for action in no time.
Remember, the key to setting up a pool table is patience and attention to detail. Follow the manufacturer’s assembly instructions closely if provided. Take your time, follow the steps, and you'll have a perfectly level, functioning pool table that's ready for hours of fun with family and friends.